2026-27 Financial Aid Forms
(Attending classes during Fall 2026, Spring 2027, Summer 2027)
Verification Forms
- 2026-27 Statement of Degree Status
- 2026-27 Parent Verification of Non Filing for Tax Year 2024 Form
- 2026-27 Dependent Asset Information Form
- 2026-27 Dependent Family Size
- 2026-27 High School Completion Status
- 2026-27 Identity Verification at the School
- Only to be completed if you are unable to meet with a financial aid staff member: 2026-27 Identity Verification with a Notary
- 2026-27 Unusual Enrollment History Form
Special Consideration
- 2026-27 Special Circumstances Form
- 2026-27 Dependency Override
- Renewal of approved Dependency Override Status is automatic beginning with the 2023-2024 school year
Satisfactory Academic Progress (SAP)
Student Loan Forms
- 2026-27 Student Loan Request Form ( Fall 2026, Spring 2027, Summer 2027)
- 2026-27 Loan Discharge Statement
An online application for the Parent PLUS loan can be done at studentaid.gov.
Miscellaneous Forms
How to Upload Documents and Electronic Signatures
Acceptable Electronic Signatures (Instructions)
For many forms requested by the Financial Aid Office, you will need to provide a signature. Signatures must be "wet" signatures, certified electronic signatures, or electronically drawn by hand. Names typed in script fonts are not acceptable.
Prefer a printable version? Download the PDF instructions
Option 1: Create a Certified Signature Using Adobe Acrobat Reader
You can download Adobe Acrobat Reader for free and follow the steps below to create an electronic signature.
Step 1: Open the document from our forms page
In Google Chrome, the signature field may not be available.
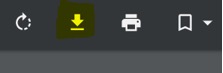
Step 2: Download the document and save it to your computer
Select the highlighted download icon.
Step 3: Open File Explorer and locate the document

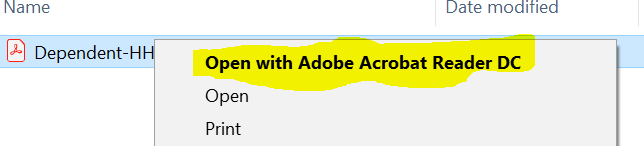
Step 4: Open the PDF with Adobe Acrobat Reader
Right-click the file and select Open with Adobe Acrobat Reader DC.
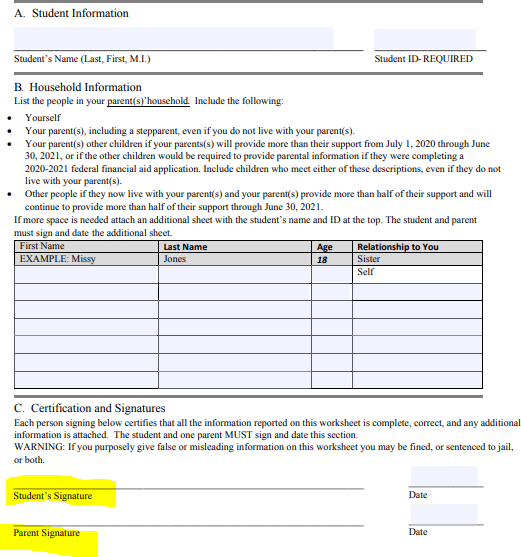
Step 5: Confirm that the signature fields are fillable
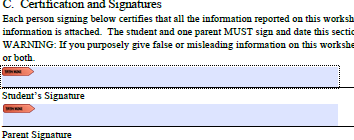
Step 6: Select the Student Signature field
After completing the form, select the Student Signature field. Then select Create a new Digital ID and select Continue.
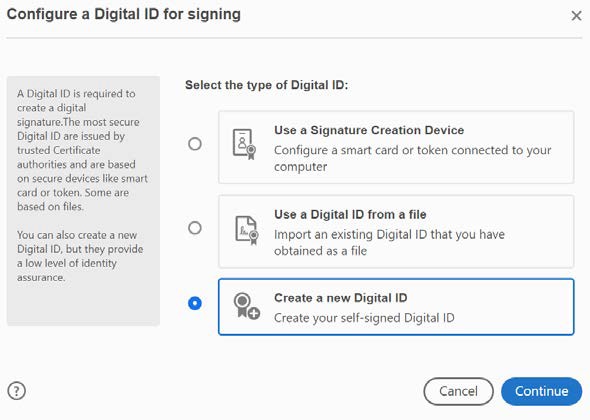
Step 7: Select Save to File
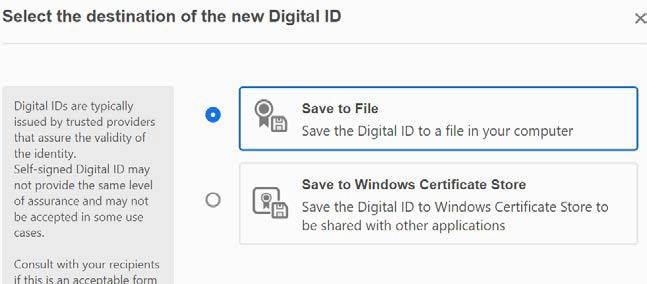
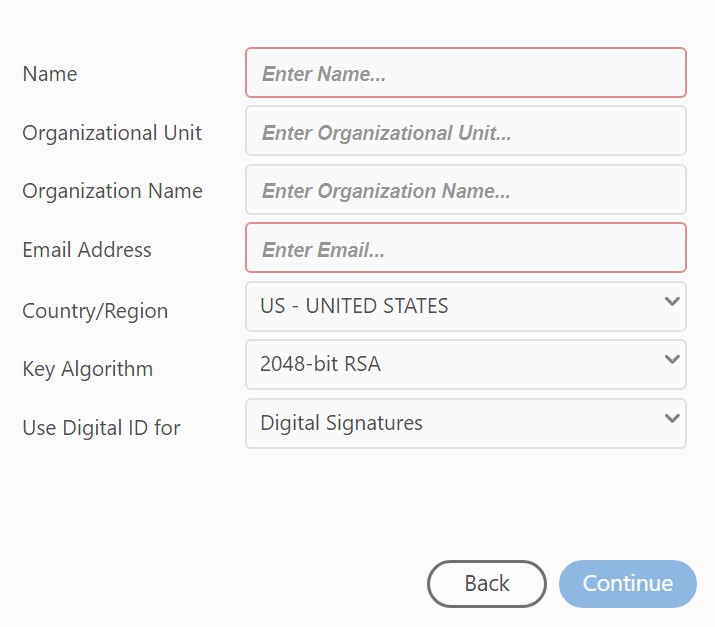
Step 8: Enter your name and email address
Enter your name and email address, then select Continue.
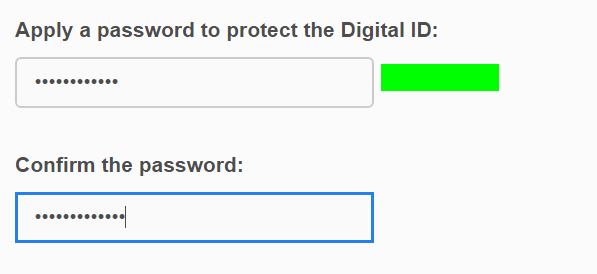
Step 9: Create a password
Create and confirm a password to protect the Digital ID, then select Save.
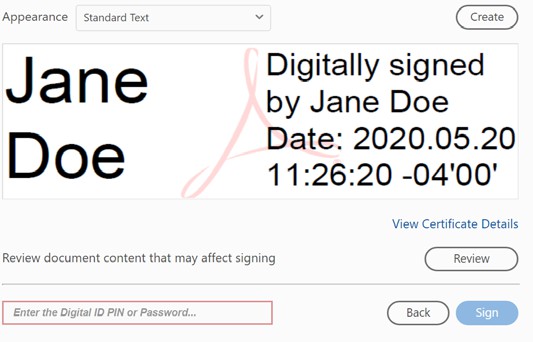
Step 10: Enter your Digital ID password and sign
A signature preview will appear. Enter the password you created in Step 9, then select Sign.
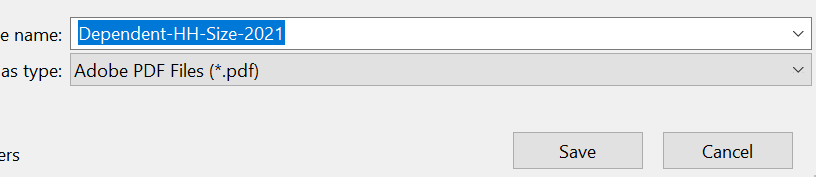
Step 11: Save the signed PDF
When the Save As dialog appears, select Save.
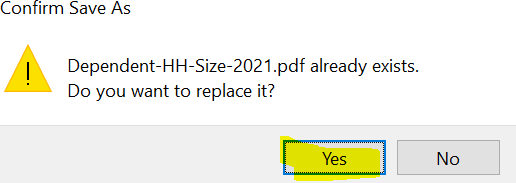
Step 12: Confirm the Save As action
If prompted to replace the existing file, select Yes.
Step 13: Confirm that the document is signed
Your digital signature should now appear in the signature field.

Option 2: Hand Sign Electronically
Some forms do not have the signing option described above. In this method, you will learn how to create a handwritten electronic signature.
Uploading Documents in To Do List PDF Instructions
Step 1: Follow Steps 1-4 from Option 1
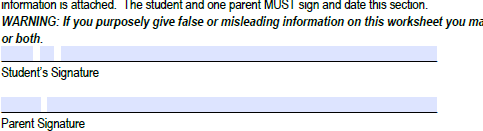
Step 2: Check the signature field
If the signature field does not provide the option to sign digitally, it may look like this:
Step 3: Select Fill & Sign
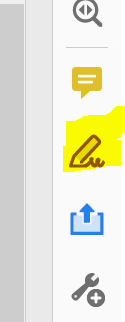
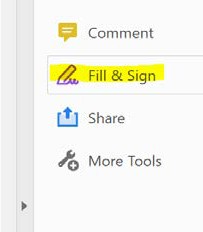
On the right side of the page, select Fill & Sign. Depending on your version of Adobe Acrobat Reader, it may appear in one of the following ways.
OR
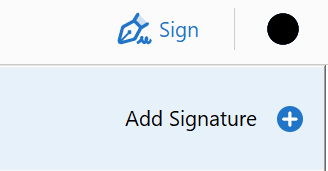
Step 4: Select Sign
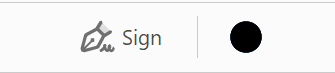
Select the Sign option at the top of the page.
Step 5: Select Add Signature
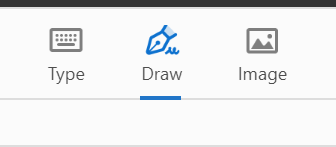
Step 6: Select Draw
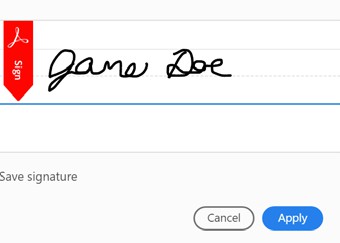
Step 7: Draw your signature and select Apply
Use your cursor to draw your signature, then select Apply.
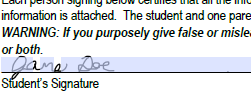
Step 8: Position the signature on the signature line
Step 9: Save and submit the document
Uploading Documents in To Do List (Instructions)
Use the steps below to upload documents requested in your SIS To Do List. If a form requires a signature, complete that first, then upload the finished file.
Prefer a printable version? Download the PDF instructions
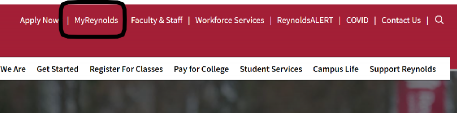
Step 1: Log in to your MyReynolds account
Enter your username and password.

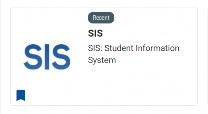
Step 2: Select the SIS tab
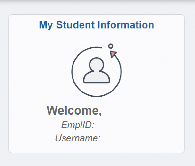
Step 3: Select My Student Information
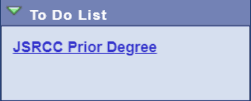
Step 4: Select the requested To Do List item
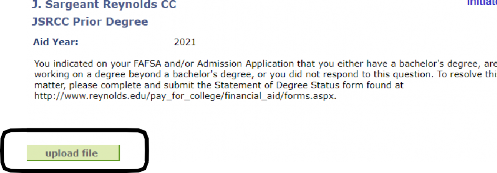
Step 5: Select Upload File